AWS IoT for Raspberry Pi
IoT stands for the Internet of Things, and it extends the power of the internet beyond smartphones and computers. It is a system of a whole range of interrelated computing, digital, mechanical devices, even people and animals transferring data over the internet with their unique identifiers. In IoT, the human to a computer or human to human interaction is not required.
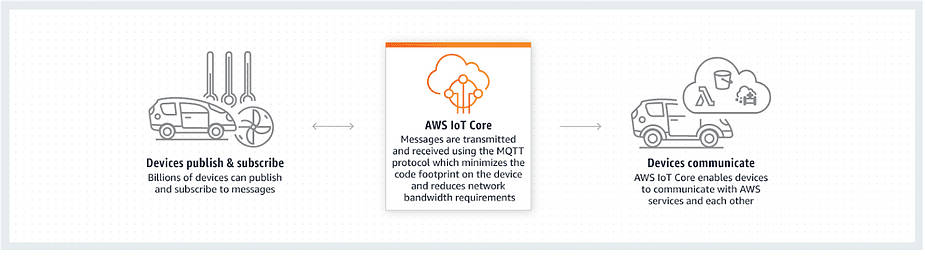
AWS IoT (Amazon Web Services Internet of Things) is the AWS platform that receives and analyzes multiple types of data from interrelated devices and sensors and bridges it with AWS cloud. It allows developers to use that data for their applications. Amazon AWS can be used for Raspberry Pi, and the following procedure explains all the essential steps for it.
Raspberry Pi is actually a small-sized computer with low cost and helps people to learn computing and programming languages like Python and Scratch.
This device is beneficial in IoT because it can connect to the internet with several languages, and it can directly interface with many types of sensors, which makes it very flexible.
Getting Things Ready on AWS Side for Raspberry Pi
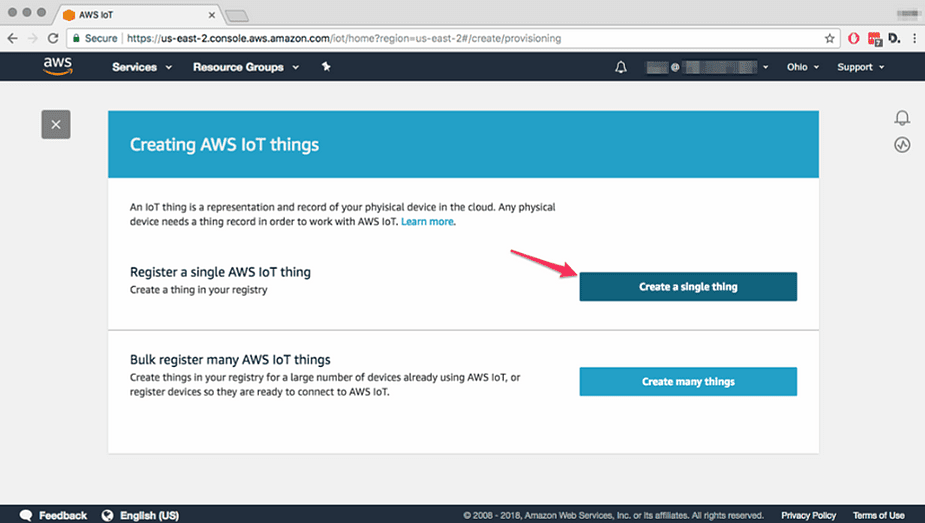
The very first step is to set up the AWS environment for a new device to start receiving data to AWS IoT. It requires to login to Amazon AWS Account, then clicking on IoT Core service (the option given on the dashboard) as shown below:
After that, clicking on Manage and Thing to proceed to the Thing dashboard. Here the user is required to register a thing (new device), and it can quickly be done by selecting the “Create a Single Thing” Option.
At this point a user only need to enter the name of the thing, e.g., “Raspberry Pi Project,” and on Amazon AWS, it is required to create a certificate for each device for authentication purposes and the user can create it by clicking on the create certificate option as shown in the below image.
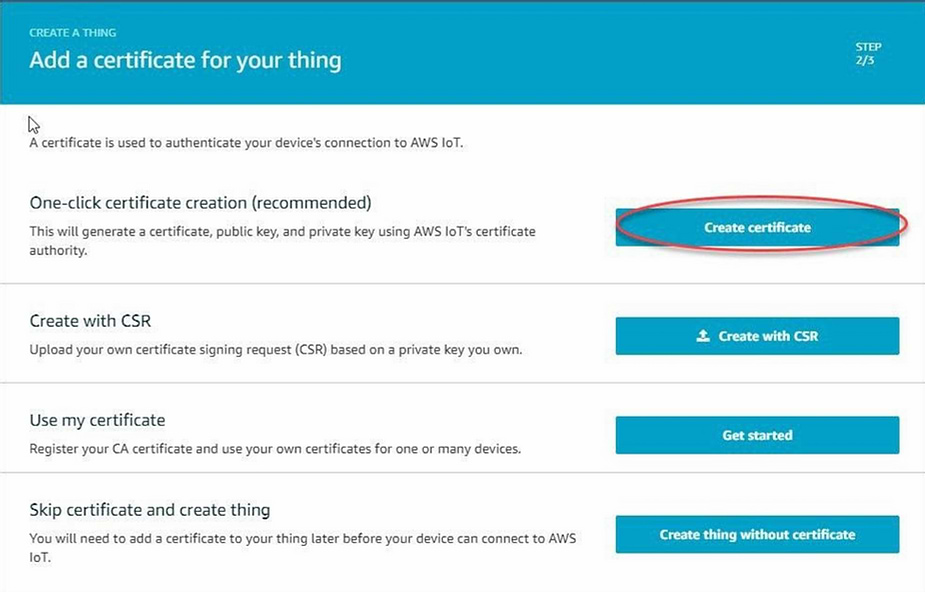
At this point, a user will be asked to download the multiple certificate files and a policy creation process. The last step to complete the device registration process is to enter the endpoint URL, which will be used to connect to the service.
Raspberry Pi with JFrog ConnectIn this new era of technology, edge devices are used everywhere. Using the JFrog Connect platform, controlling a big fleet of Raspberry Pi devices is easier than ever.
Getting Started with Raspberry Pi Using JFrog Connect
To start managing a Raspberry Pi device, the only thing that needs to be done is to register it to JFrog Connect, and that takes no more than 60 seconds. The platform offers a never-ending prototyping plan, and it can be used, as anyone desires.
Here is the whole process of getting started with Raspberry Pi using JFrog Connect in 60 seconds:
At this point, anyone can develop, deploy, update, and monitor their devices using the platform. This couldn’t be any easier, and anyone with a little knowledge of using the internet can pull it off like a piece of cake.
Difference between AWS and JFrog Connect When Working with Raspberry Pi
The process of getting things ready for Raspberry Pi is a little challenging and complicated in AWS IoT platform, additionally, AWS IoT doesn’t provide maintenance tools that can help you keep the devices fleet stable and secure remotely.
The JFrog Connect platform is not only capable of doing everything that once can perform using AWS to work with Raspberry Pi devices, but it also offers the easiest way to do so. It doesn’t matter whether one Raspberry Pi device is to be managed or a fleet of thousands of them; with JFrog Connect, the whole process is a matter of a few minutes.


