Installing CUDA on Nvidia Jetson Nano

The Nvidia Jetson Nano is one of the System on Modules (SoM) developed by Nvidia Corporation, with GPU accelerated processing in mind. The SoM consists of 128-core NVIDIA Maxwell™ architecture-based GPU, controlled by a CPU with Quad-core ARM A57 architecture, along with 4GB of DDR4 RAM.
The Jetson nano can be used as a general purpose Linux-powered computer, which has advanced uses in machine learning inference and image processing, thanks to its GPU accelerated processor. In terms of parallel processing, the Jetson Nano easily outperforms the Raspberry Pi series and pretty much any other Single Board Computers; which typically only consist of a CPU with one or more cores and lacks a dedicated GPU.
However, since the Jetson Nano is designed with special hardware, in order to make the best use of the hardware-accelerated parallel computing using the GPU, a special framework needs to be installed and thereby, machine learning programs can be written using the same. Nvidia calls this special framework that enables parallel computing on the GPU the CUDA (Compute Unified Device Architecture). CUDA is written primarily in C/C++ and there exist additional support for languages like Python and Fortran. The framework supports highly popular machine learning frameworks such as Tensorflow, Caffe2, CNTK, Databricks, H2O.ai, Keras, MXNet, PyTorch, Theano, and Torch.
When correctly installed, the CPU can invoke the CUDA functions on the GPU through CUDA framework and thus enables the parallel computing possibility. The flow diagram below indicates the typical program flow when executing a GPU-accelerated:

installing CUDA on Jetson Nano
To install CUDA toolkit on Jetson Nano (or any other Jetson board), there are two main methods:
- Installing through JetPack SDK
- Installing from Debian (Ubuntu) repositories
- Installing from CUDA repositories
While installing from the CUDA repositories allow us to install the latest and greatest version to the date, the wise option would be to stick with either the JetPack SDK or the Debian repositories, where the most stable version of the framework is distributed.
When installing the JetPack SDK from the Nvidia SDK Manager, CUDA and its supporting libraries such as cuDNN, cuda-toolkit are automatically installed, and will be ready-to-use after the installation; so it will not be necessary to install anything extra to get started with CUDA libraries.
Installing from Debian repositories
Before installing CUDA on your Jetson Nano, make sure that you have completed the pre-install requisites found in this guide to ensure a smooth and hassle-free installation.
After completing the pre-install, execute the following commands to install the CUDA toolkit:
wget https://developer.download.nvidia.com/compute/cuda/repos/ubuntu1804/sbsa/cuda-ubuntu1804.pin
sudo mv cuda-ubuntu1804.pin /etc/apt/preferences.d/cuda-repository-pin-600
wget http://developer.download.nvidia.com/compute/cuda/11.0.2/local_installers/cuda-repo-ubuntu1804-11-0-local_11.0.2-450.51.05-1_arm64.deb
sudo dpkg -i cuda-repo-ubuntu1804-11-0-local_11.0.2-450.51.05-1_arm64.deb
sudo apt-key add /var/cuda-repo-ubuntu1804-11-0-local/7fa2af80.pub
sudo apt-get update
sudo apt-get -y install cuda
In some installations, the sudo apt-get -y install cuda command will return an error stating that some dependencies cannot be installed. If so, execute the following command to force the installation and resume the installation.
sudo apt-get -o dpkg::Options::=”–force-overwrite” install –fix-broken
Verifying the installation
Executing dpkg -l | grep cuda will display an output similar to the one shown below, which verifies that the installation is complete.

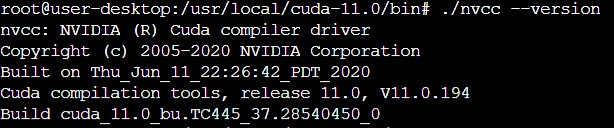
In the /usr/local/cuda-11.0/bin directory, you will be able to find the nvcc (CUDA compiler toolkit) which can be used to compile programs that utilize CUDA framework.
Post-installation
After installing the CUDA libraries and the framework, as a post-install setup, the PATH variable of the OS needs to be updated to make the installed libraries available throughout the system (i.e. to be compiled in CUDA applications).
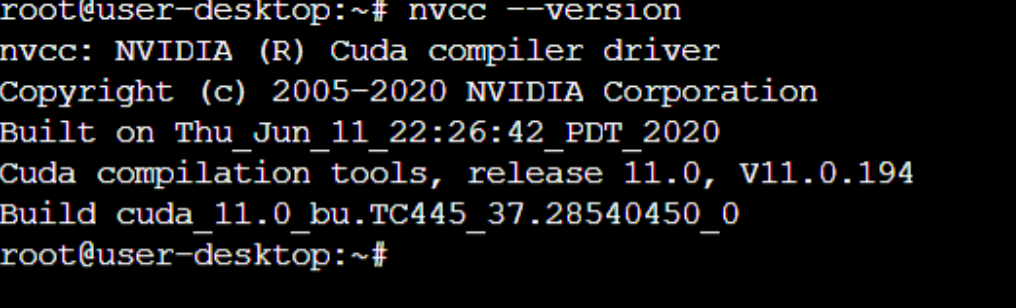
Using this guide provided by Nvidia, make sure to update the installation directory and complete the setup. After the PATH update, executing nvcc –version from any directory should return the following response.
Installing CUDA/updating existing installation on multiple Jetson Nano devices at once
Using JFrog Connect’s micro-update tool, you can easily execute the update command(s) to update CUDA installation (i.e. from 10.0 to 11.2) in multiple Jetson edge devices. JFrog Connect provides not only that, but also a plethora of remote IoT edge device management tools to help you manage and control your devices that are deployed in the field.
Click here to learn more about JFrog Connect and sign up for the free trial today!


